Rules for wallpapering yourself
When the work is done independently, all the questions have to look for answers on the Internet or in specialized literature. The set of basic rules is as follows:
- The air conditioner and fan turn off until the glue has completely dried.
- Doors and windows remain closed so that there is no draft, and the air is humid.
- Pregnants are not recommended to repair, so that the stale moist air does not cause dizziness.
- The air temperature in the room is not lower than +15 and not higher than +32. A slight deviation is allowed.
- It is forbidden to heat an unheated room with a heater. Heating must be on.
- The drying time of wallpaper glued to a cold wall increases by 2-3 times compared to the normal period.
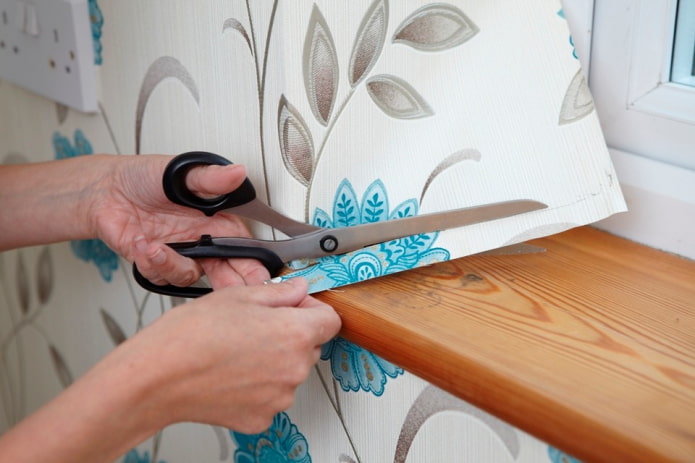
- The ends of the strips at the ceiling and floor are trimmed with a clerical knife, which is held along the attached wide metal spatula.
- To determine whether it is possible to glue without fitting the pattern, you need to familiarize yourself with markingindicated on the package.
The stripes are oriented vertically. Wallpaper pasted horizontally is too heavy wide strips that are poorly fixed by glue on the wall. In order for the process to be coordinated, first of all, you need to take care of the presence of the mandatory requisite, which will be needed for the work performed in stages.
What tools will be needed?
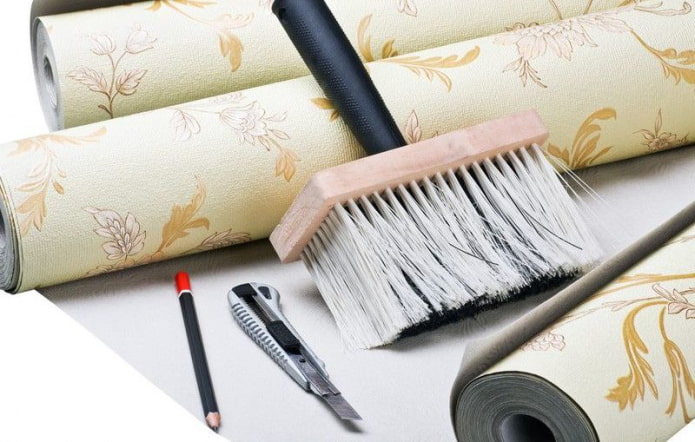
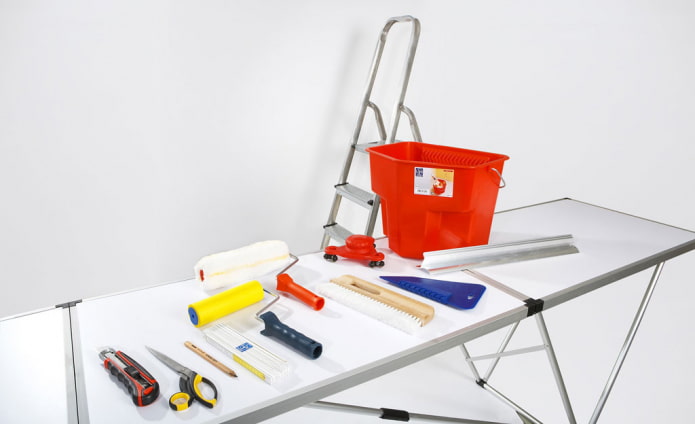
To install a cover from wallpaper strips you will need:
- plastic film to cover the floor;
- containers for mixing sticky mass;
- brushes and rollers for applying glue on contacting surfaces;
- rubber rollers for rolling the joints of strips;
- a wallpaper knife and scissors as a cutting tool;
- construction level, plumb line or laser level;
- a pencil, pen or marker for marking;
- wide spatula used to adjust the length of the glued strip.
All this needs to be purchased before installation begins. The primer and glue are acquired before the fragments are cut, and in an amount that is necessary for the entire amount of work.
Features of the preparation of walls and ceiling for gluing
Non-professionals need to consider that the surface to be glued should be prepared. For this:
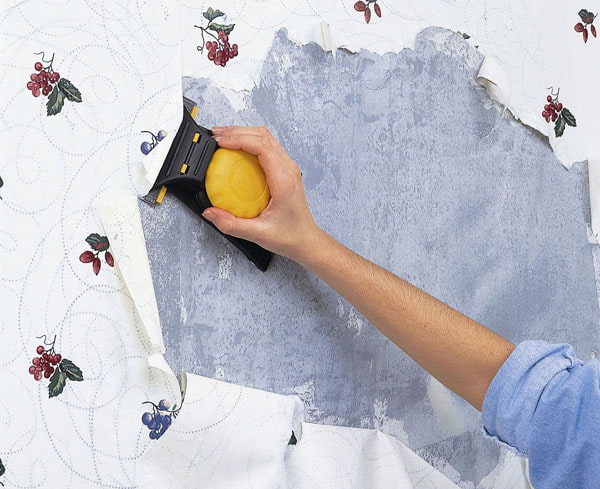
- Remove dirt and debris from old decorative coatings.
- Putty the plane, eliminating shells, cracks, other irregularities.
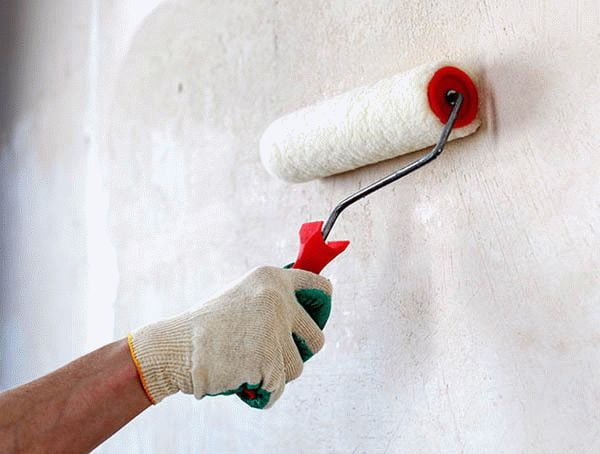
- Grunt. It is easier to apply a primer with a soft roller.
- Wooden walls are treated with antiseptic disinfectants.
The primed surface must dry completely. Only after this can you begin to glue.
Surface Nuances
The table shows the types of surfaces on which you can glue the wallpaper, but you need to consider a number of features:
| Surface type | How to glue, what needs to be done for this? |
|---|---|
| Painted walls | The paint is completely removed. The procedure differs depending on its type: water-based, oil, acrylic, latex, water-dispersed. |
| Drywall (GKL, GVL, GKLV) | Joints are putty, it is not necessary to putty on the plane. |
| OSB plate | It is taken into account on which side the laminated coating is applied, on which the wallpaper does not adhere. |
| Plaster | Grounded. But if it is plaster or other decorative, textured, then it needs to be removed, and the wall should be treated as described previously. |
| Putty | After impregnation with primer of the puttied walls, you can start gluing. Latex finishing putty is removed. |
| Whitewash | Whitewashed walls are washed off until there are no traces of lime on the surface. |
| Plywood | You can glue paper wallpapers and paper-based materials without a primer. |
| Fiberboard and hardboard | The material does not have sufficient strength, which does not allow covering it with wallpaper. |
| Fiberglass | It is removed as it is a suitable base. |
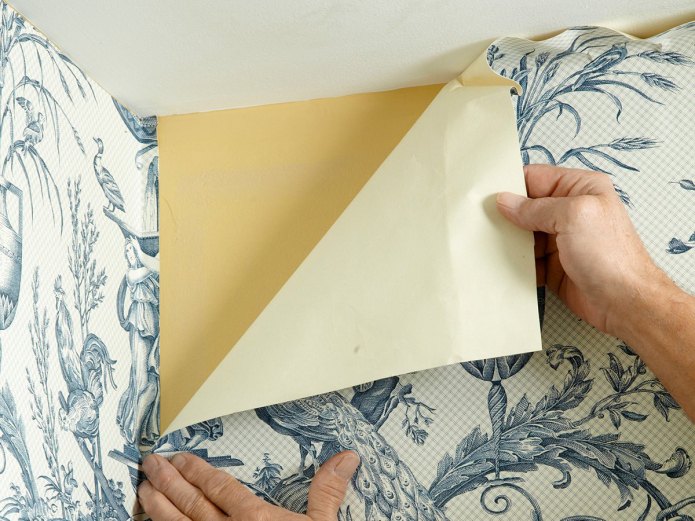
| Old wallpaper | It is better to remove and process the wall, as required by the technology of gluing.Wallpaper Removal Instructions. |
| Concrete walls | It is enough to ground if it is a smooth surface. Shells, joints are putty. |
| Plastic panels | The frame is dismantled. Plastic does not have the ability to hold the load. |
| Concrete contact | This polymer coating is specially designed to provide adhesion. |
| Wooden surfaces | Lining or timber will have to be sewn under the frame of drywall. |
| Glass | It is smooth and cannot be used as a base to be wallpapering. |
| MDF panels | It is better to abandon the venture, since the material has poorly expressed adhesion. |
| Bung | The cork coating is removed, since it is soft, and can not guarantee the safety of the wallpaper under mechanical stress. |
| Styrofoam | The material does not have sufficient strength and must be dismantled. |
| Penoplex | Klee does not provide sufficient adhesion. |
| Tile (tile) | It is dismantled completely. |
| SIP panels | The surface, if necessary, is putty at the joints and primed. |
| Clay walls | Treated with special impregnations to give the necessary strength. |
Wallpaper Adhesive
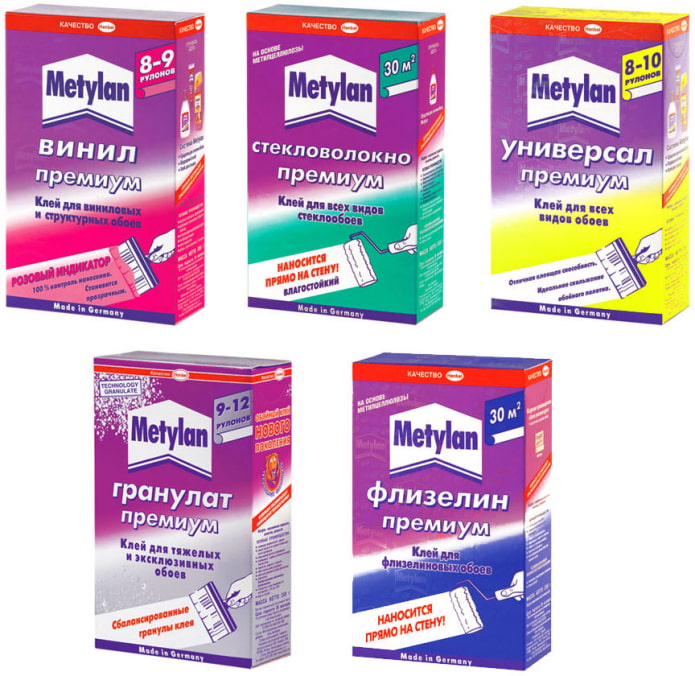
Plastered and primed surfaces are covered with an adhesive water solution. The consistency of the glue should be sufficiently viscous so that the wallpaper is held across the entire width of the strip, but the solution must be fluid so that it can be applied evenly on the treated surfaces.
Which is better to choose?
| What wallpaper? | Type of adhesive |
|---|---|
| Paper | Universal, for paper |
| Washable Vinyl | Special composition for vinyl |
| Embossed | Special composition or for vinyl |
| Non-woven | Only specially designed |
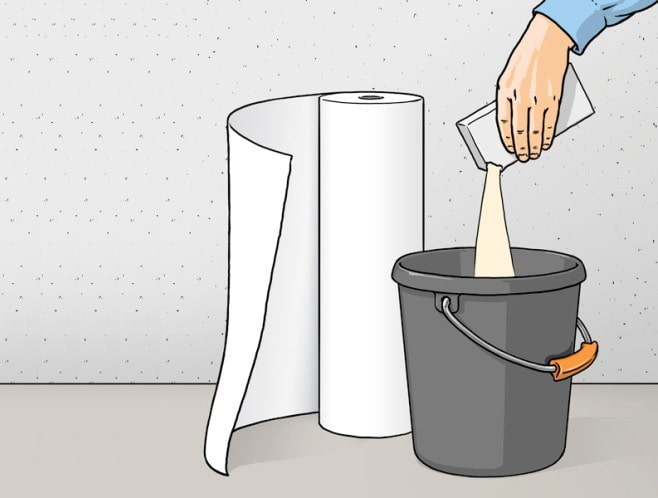
How to breed?
In order to be able to qualitatively process the contact plane, it is necessary to dilute the granular mass with water. Instructions and dosage are indicated on the packaging. The solution is prepared immediately before gluing the wallpaper. The optimal amount is 3-4 bands.
Where to start gluing?
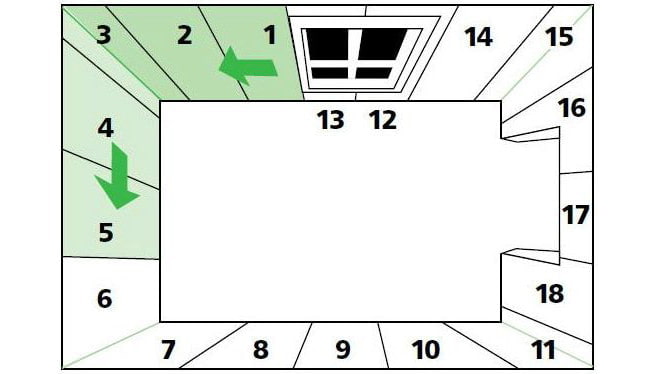
Before you cut the wallpaper, you need to mark the room, marking with lines the places of future joints. If the room is glazed, the first strip is glued in level from the window. Further stripes are marked to the corner, and so on in the same direction to the door. Bypassing the doorway, the strips are laid further to the same window. The places beneath and above it are pasted over last.
When preparatory processing of the walls in the corridor or other room without windows is completed, the walls are also marked before gluing the wallpaper. At the same time, the doorway can serve as the beginning (if there is enough space nearby to lay a whole strip without a longitudinal bend). Another way is to glue the wallpaper from the corner.
What order to follow, or what before?
When performing work, it is important to adhere to the correct sequence of actions. This applies to the procedure for repairing walls, ceilings, installing door frames, windows, skirting boards, flooring, etc.
Wallpaper or installation of a stretch ceiling?
The ceiling structure is mounted before the time comes to glue the wallpaper. This is necessary so that during installation not to damage already pasted strips.
Wallpaper or floor? (laying of laminate, linoleum, parquet)
First, the device of the floors is performed. To lay a screed means to dissolve dirt in the room, which will inevitably fall on new walls.
Wallpaper or door installation?
The door frame must be installed before gluing the wallpaper. Cashmen are not needed yet. They will close the strip cuts when fitting sizes.
Wallpaper or ceiling?
It makes sense to glue the ceiling, since when performing these works, glue can get on the surface of the wallpaper, which the glued on the walls.
Wallpaper or baseboard (fillet)?
Overhead skirting boards are installed last after the room has been glued. The moldings are glued earlier, and the length of the strip is already adjusted to them.
Step by step instructions for self-wallpapering
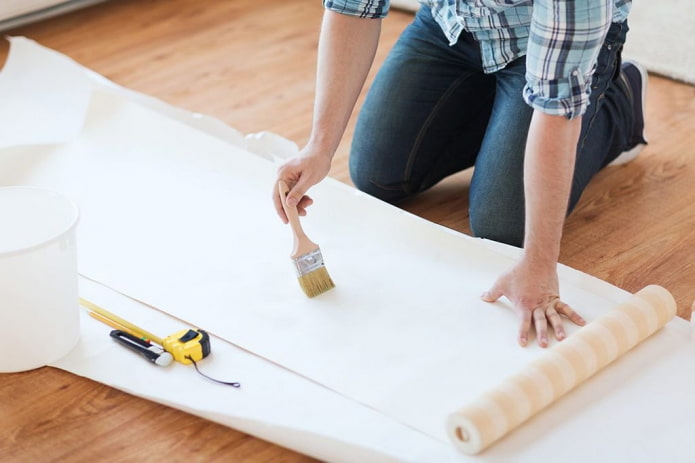
After preparing the wall surfaces and installing all the necessary elements in the room, they clean them. The floor is covered with plastic wrap. Mark up and cut 5-6 strips of wallpaper. Glue is bred, and begin to glue.
The sequence of application to walls and stripes depends on the type of wallpaper.
Links to detailed gluing instructions:
Each type involves the use of specially developed gluing technology.
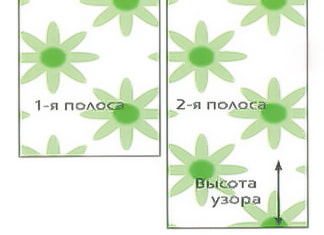
How to glue wallpaper with a fit picture?
It is important to consider a number of features:
- The marking contains information about the size of the displacement of the pattern.
- The strips are cut with a margin of the specified number of centimeters.
- After gluing, they look so that the pattern matches.
- If necessary, the strip is separated and glued already with a shift.
Excess stock is trimmed with a wallpaper knife along the attached wide metal spatula.
Secrets of gluing wallpaper joint to joint or how to hide joints?
To do this, you must:
- Glue the wallpaper on an even plane.
- Fit the strip as close as possible.
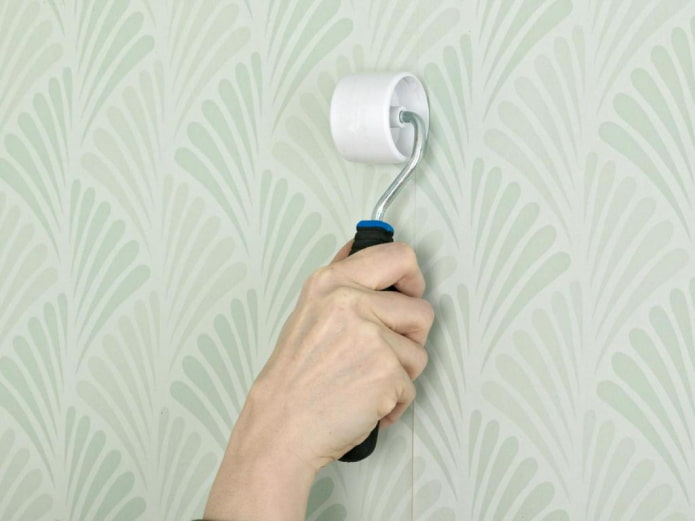
- Roll joints with a special roller.
- Dry the exposed glue dry.
So that the joints do not lag behind, before gluing the wallpaper, they are carefully coated with glue.
The nuances of sticking lap
The following factors are taken into account:
- The overlap strip is on one side.
- The upper wallpaper is generously smeared with adhesive.
- The joint is rolled with a rubber roller with pressure. I wipe off the excess glue completely.
So that the overlap is not noticeable, they begin to paste over the door to the far corner of the room so that the ends of the wallpaper are not visible.
Wallpapering Technique
There are several factors specific to one meter wide wallpapers:
- Glue is applied only to the wall.
- If mistakes are made, you can remove the fresh canvas, and glue it again.
- It’s hard to do the work alone.
- The material allows you to adjust the joints by smoothing.
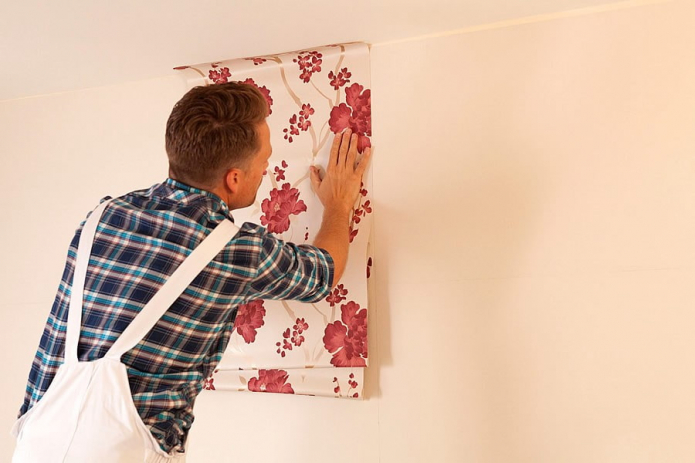
How to stick one person?
This is convenient when the wallpaper is thin, light and not wide. Wherein:
- The smeared strip is folded so that the upper third of the impregnated side remains open.
- Wallpaper is applied at the top and smoothed from top to bottom.
- The folded part unfolds and is pressed to the floor along the longitudinal axis.
- From the middle to the edges, air and excess glue are expelled.
After this, the joints are rolled with a roller.
Video instruction
How to glue in hard to reach places?
Features depend on what constitutes complexity.
Angles
Technologically different are the processes for gluing internal and protruding corners. Detailed information on gluing corners can be found here.
To the ceiling
The technology is specific and requires separate consideration. The main thing is to glue the wallpaper from the window into the interior of the room. Detailed information on wallpapering on the ceiling can be seenhere.
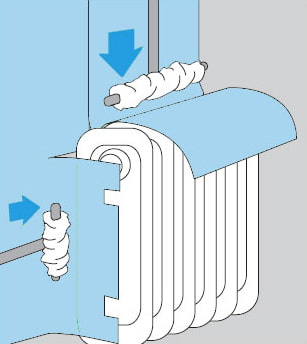
Behind the battery
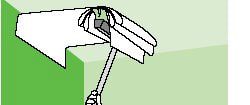
Fragments are cut, wallpaper and wall are smeared, gluing is done according to the developed technology.
Around the window (under the windowsill)
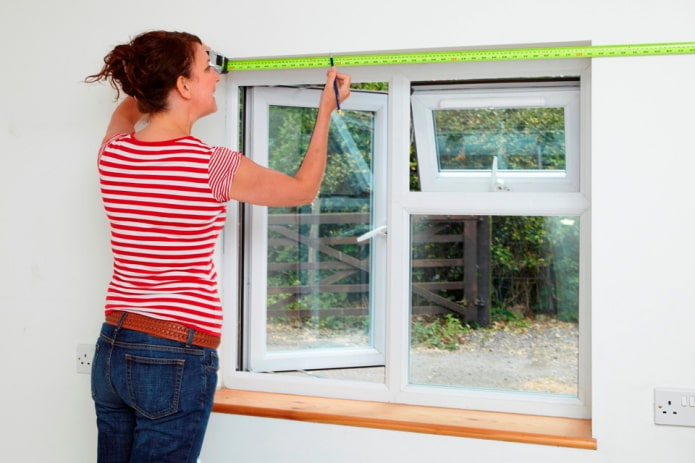
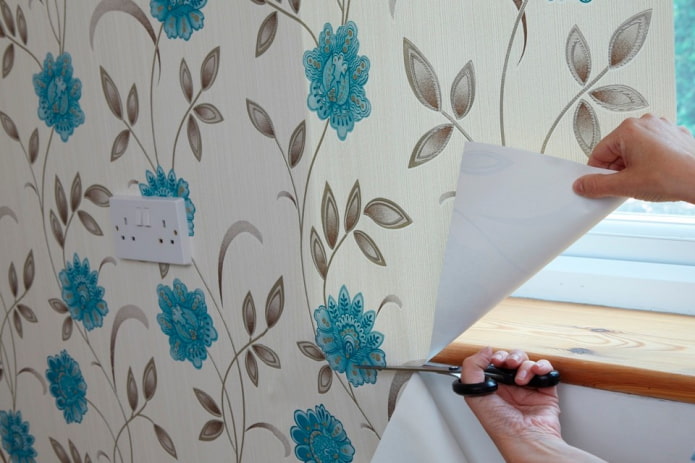
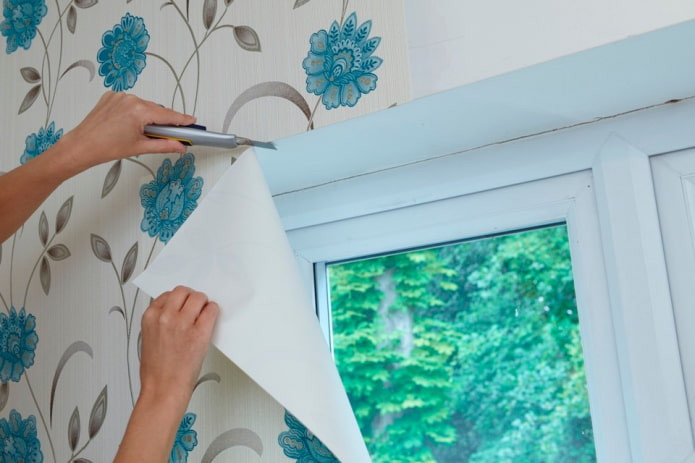
A strip is being prepared in which the outline of the window opening is cut, which is closed with wallpaper. Separate elements are glued to be prepared according to the size of non-closed areas. Under the windowsill, the procedure is identical.
Behind a geyser
Independently dismantling gas equipment is prohibited. But the case can be removed. It is necessary to glue so that after its installation there are no "bare" areas left.
Behind the gas stove
Technically it is possible to glue if the stove is connected to the gas supply system with a flexible hose. It is strictly forbidden to dismantle rigid pipe connections.
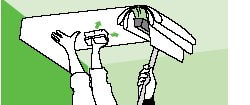
Under air conditioning
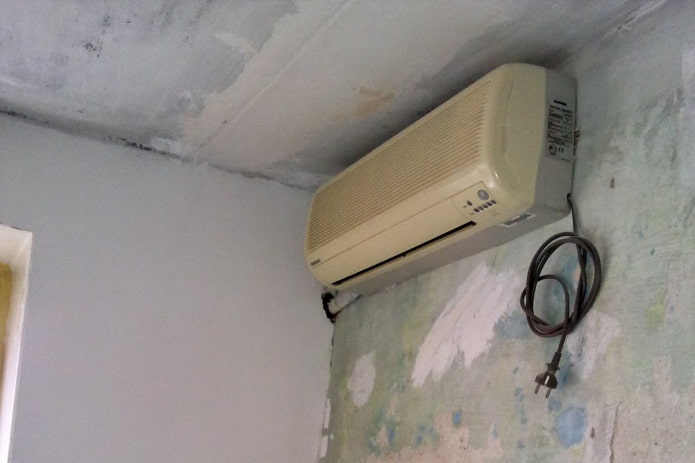
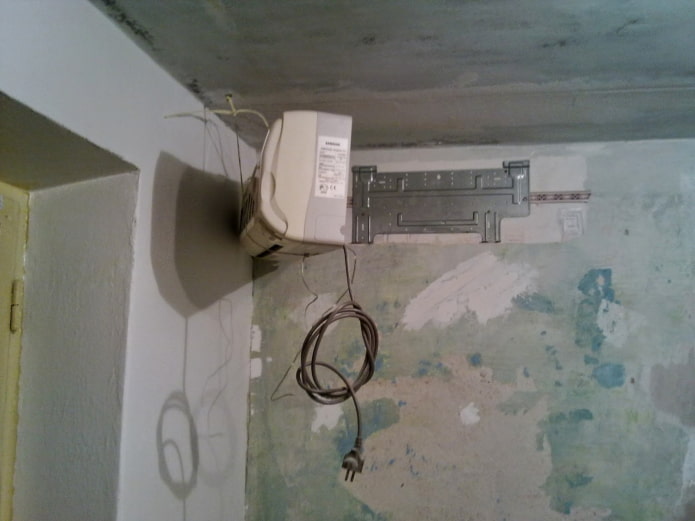
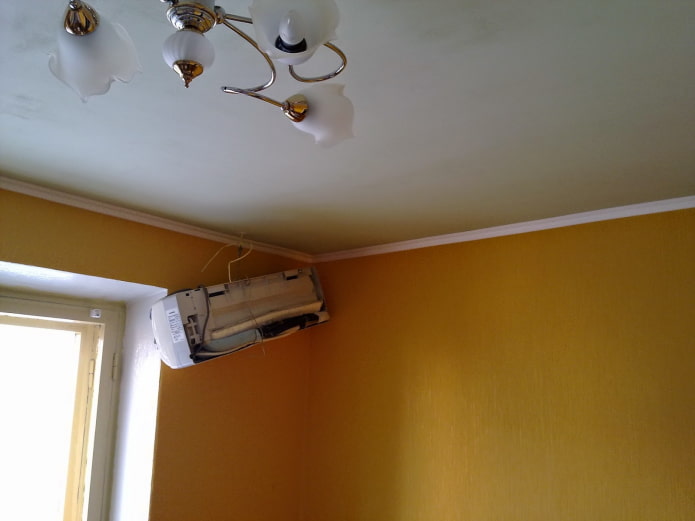
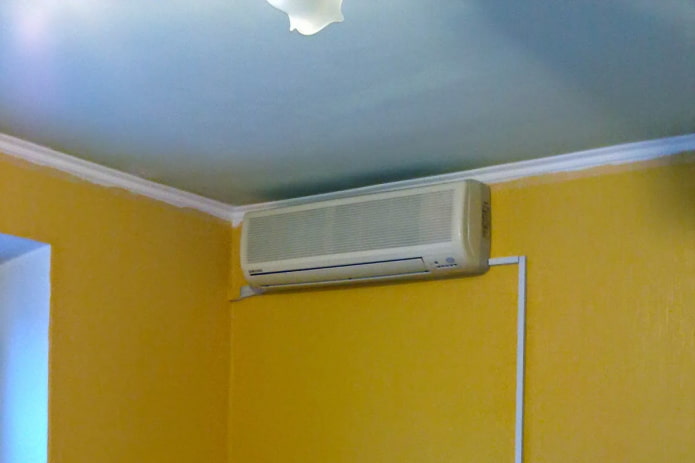
It makes sense to dismantle the design and glue the wallpaper solidly. The main thing is to measure where the holes for fasteners are. It is not difficult if you insert a toothpick, a nail or screw in a screw during glueing.
With stretch ceiling
Wallpaper can be driven under the guides or glued close to them.
Arch
The elements involved are cut according to pre-measured patterns.
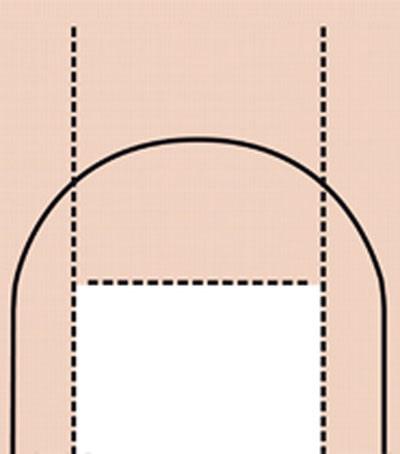
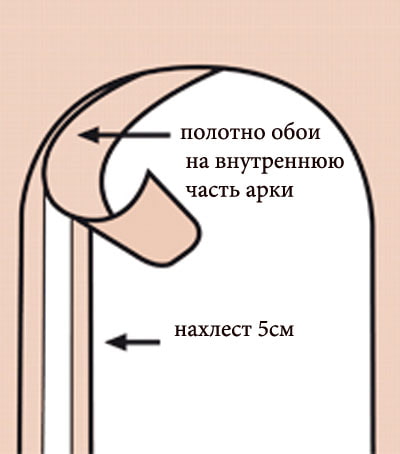
Above the doorway
There will be only one joint. The coating consists of two strips in which segments are cut in accordance with the portions of the opening covered by wallpaper.
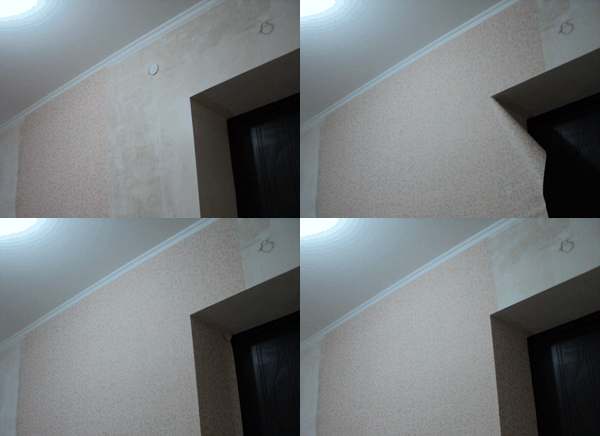
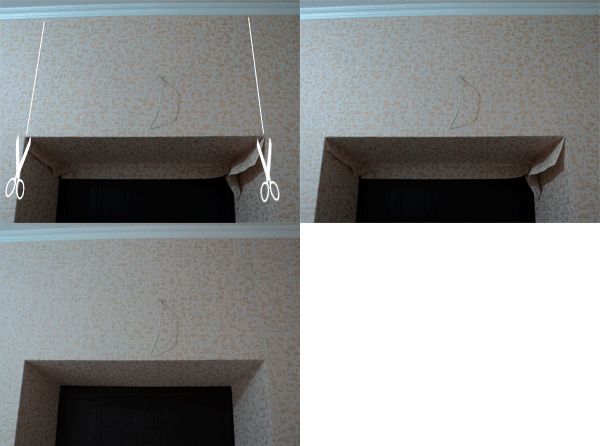
On the slopes of a door or window
The slice fits close to the bend. The corner is mounted using a special profile, which is covered with plaster, and remains perfectly flat.
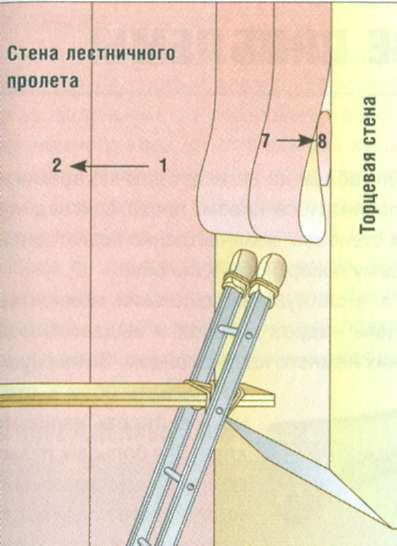
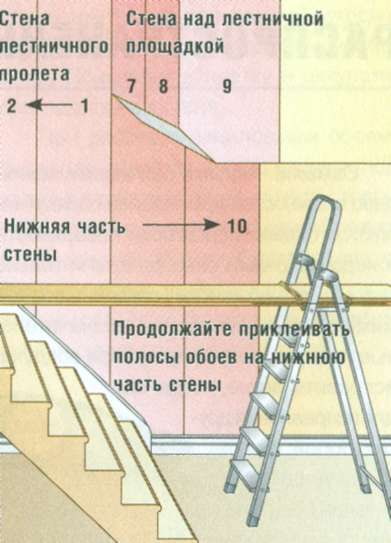
On the flight of stairs
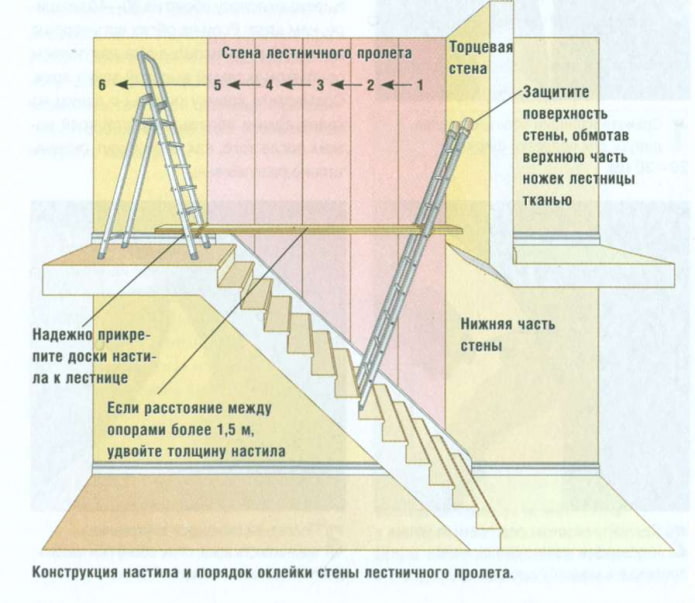
If there is no way to dismantle the stairs, you will have to measure and cut out each element of the wallpaper to glue the finished fragments.
On an uneven wall or wall with a ledge
It all depends on the configuration and extent of the problem. Sometimes you have to cut and glue with filigree accuracy.
To wires
Electrical communications that are not embedded in the wall should not be glued. It is better to disconnect the cable, make repairs, and then install it in place.
Near sockets and switches
Electricity shuts down. Sockets and switches are removed or sealed with masking tape. The wall is pasted over. Places of sockets and switches are cut with a wallpaper knife.

Behind the pipes
The strip is inserted into the space between the wall and the pipe, without touching the smeared side. Then the standard procedure is performed.
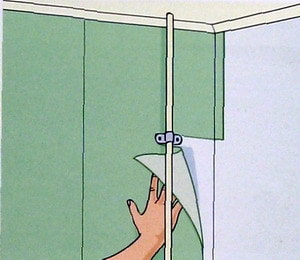
Niche
The procedure is identical to pasting the inner corners. But if the dimensions are small, you will have to measure and prepare the elements in advance.
Beams on the ceiling
The technology is the same as when pasting the ends of partitions, niches and arches.
In the attic with a slope
The order, direction and sequence is the same as when pasting vertical planes.
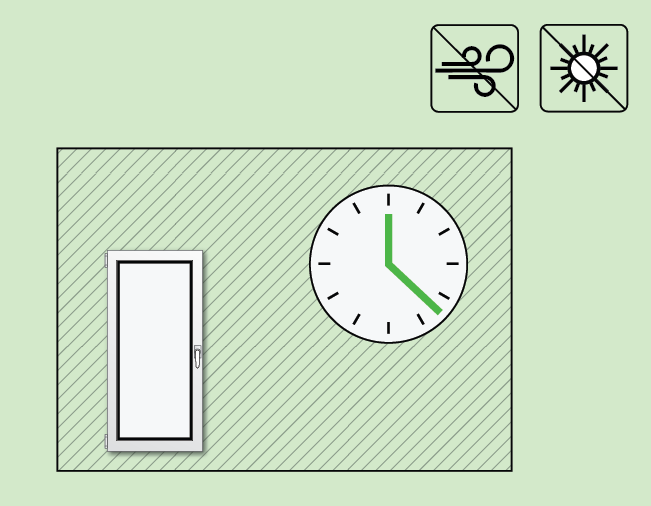
How much do they dry?
Drying time depends on the density of materials and room temperature. Under normal conditions, in accordance with the type of wallpaper, the time specified in the table should pass before it dries completely:
| Type of wallpaper | Time to dry completely |
|---|---|
| Paper | 8-12 hours |
| Non-woven | 12-18 hours |
| Vinyl | 18-24 hours |
| Liquid | 24-36 hours |
Stickers Tips for Beginners
Those who make repairs for the first time should consider:
- A special adhesive composition has been developed for each type.
- Attractive appearance provides high accuracy.
- The presence of bubbles is unacceptable. They are kicked out, not punctured.
- It is better to use the specialized tool from the list above.
- Before you glue the wallpaper, study the recommendations and watch the video.
It is important that the planes are prepared and that the drying time is sufficient. In this case, the wallpaper will not lag behind.


 Installation of ceiling tiles: selection of materials, preparation, procedure
 How to glue the ceiling plinth to the stretch ceiling?
 Ceiling plinth for stretch ceiling: types, recommendations for selection
 How to choose a screwdriver for home?
 Foam tile for the ceiling: the pros and cons, the stages of gluing
 Repair in practice: how to repaint furniture yourself